Grow Box Construction
Learn how to build a SNAP Hydroponics grow box with this comprehensive step-by-step guide.
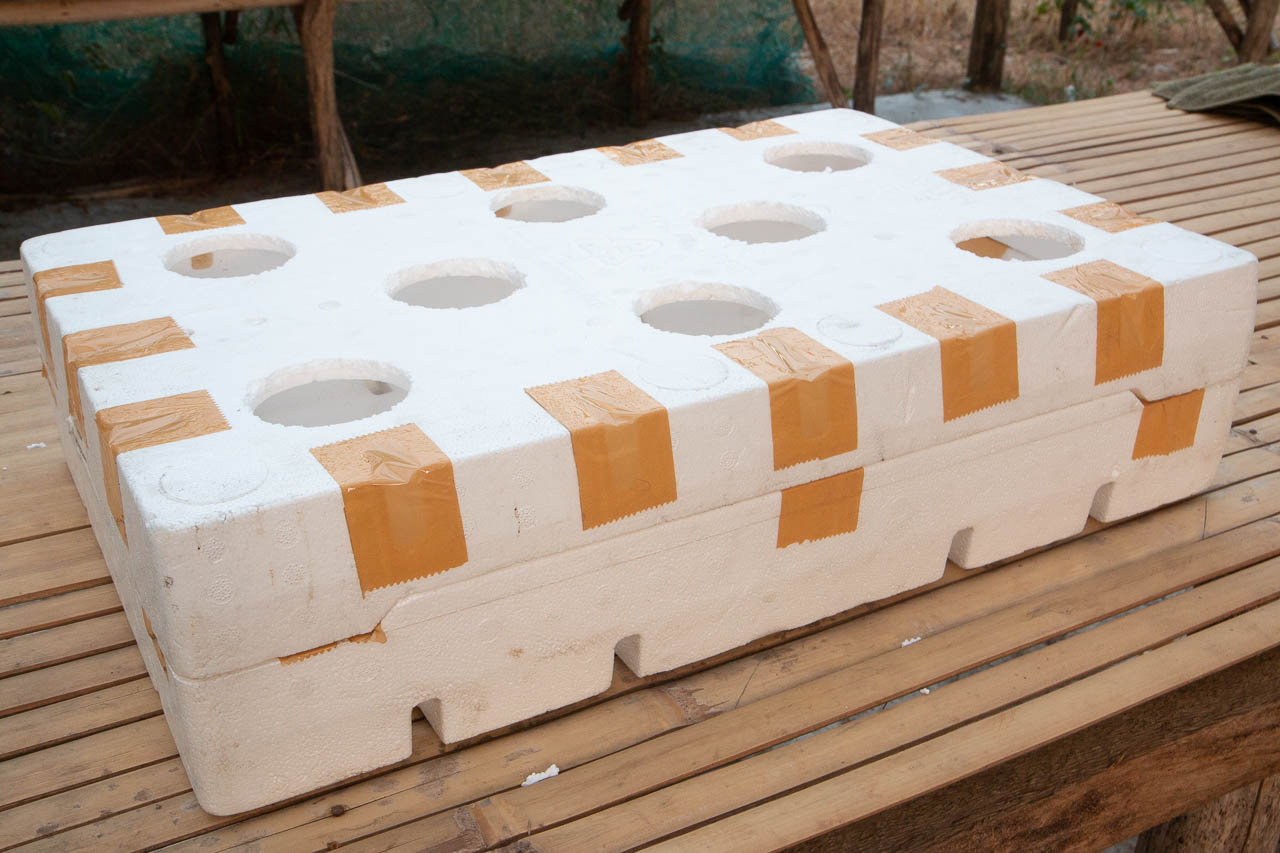
Grow boxes or growing boxes are an essential part of the SNAP Hydroponics system. The grow box acts as a reservoir for the SNAP working solution. The grow box also holds the seedling plugs in place. This is an easy to follow step-by-step guide on how to properly construct grow boxes from used styrofoam boxes (styrobox).
Required Materials
Styrobox
Boxes made of expanded polystyrene (EPS) known commonly as “styrofoam box” or simply “styrobox” make excellent materials for a grow box. The size recommended for use with SNAP Hydroponics is 20"×16"×6". These boxes can hold 10-12 liters of nutrient solution and has enough room to grow up to eight leafy vegetables and up to five fruiting vegetables. Styroboxes of this size are used to transport US-imported grapes and are typically common during the months of September to February. For details please see the styrobox guide.
Lining Material
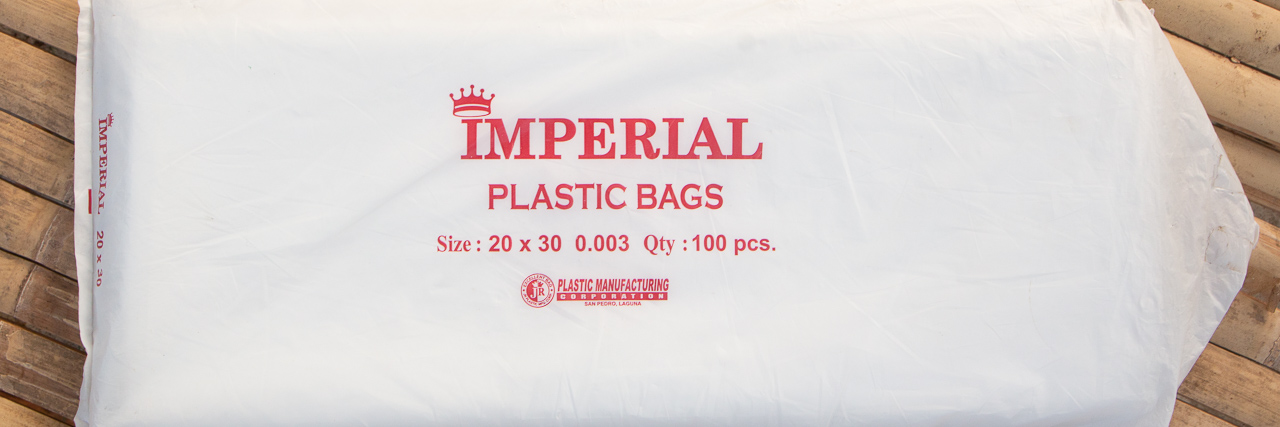
Styrofoam boxes has ventilation holes running along the edges. In order for the bottom half of the box to hold the nutrient solution it must be lined with a sturdy waterproofing sheet. In this guide we’ll use 20"✕30" polyethylene (PE) plastic bags.
Styrofoam Puncher
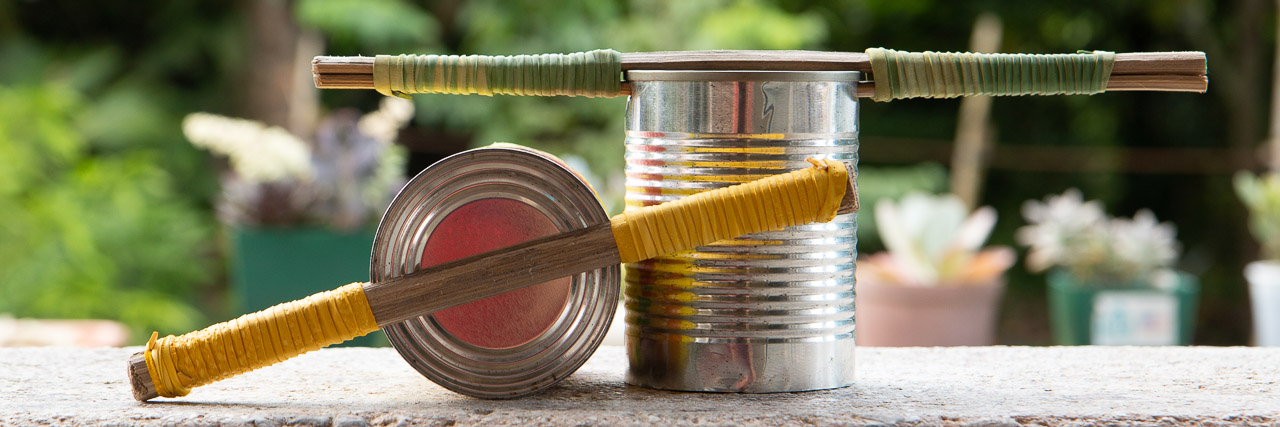
Styrofoam puncher is required to make holes on the upper half of the grow box for the seedling plugs. A tin can of the appropriate diameter for the seedling plug can be made into such a tool. For details please see this guide on making DIY styrofoam puncher.
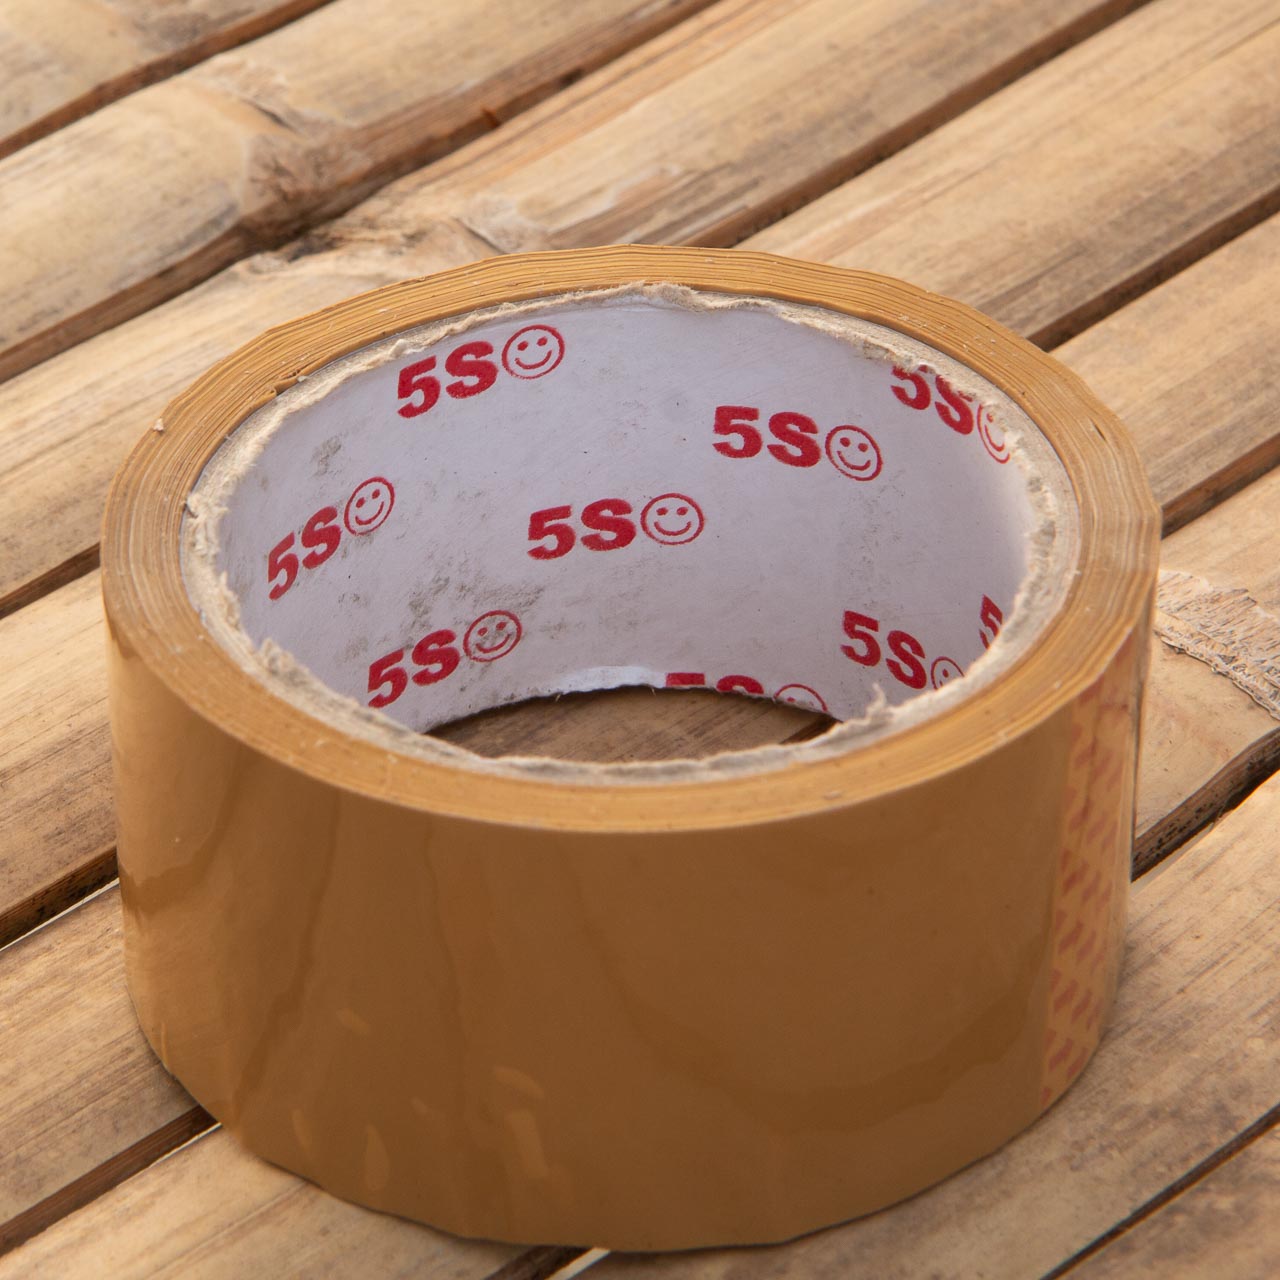
Packaging Tape
This will be used to hold the lining material in place and optionally cover the ventilation holes.
Bamboo Stick
Bamboo stick or similar implement is used to draw guidelines on the styrofoam. It is also used to safely remove the styrofoam piece from the styrofoam puncher after each cut.
Prepare the Styrobox
Although styrofoam grape boxes are of the same size, the way their upper and lower halves are designed to fit together are different depending on the manufacturer and the manufacturer’s type designation. This means the upper and lower halves of the styrobox won’t fit properly if they are not of the same type.
It’s possible to place the upper part of the grow box upside down in order to not worry about the pair of upper and lower halves fitting. However, this comes with disadvantages. For example, wind can easily blow them off.
The styrobox has locking tabs to keep it shut. To open the box press on the lower half at the middle of one of the shorter side to release the lock then pull the upper half away.
It is recommended to wipe down the styrobox with a clean rag to remove dust, grease and/or moisture, because these can cause tape, which we will be using to hold the plastic liner in place, to fail.
Work on the Upper Half of the Grow Box
Turn the upperhalf of the styrobox over and place it on a flat surface. It is recommended to put a piece of plywood or cardboard in between the surface and the styrofoam. This is to prevent the surface from being damaged by the styrofoam puncher as it cuts through the styrofoam.
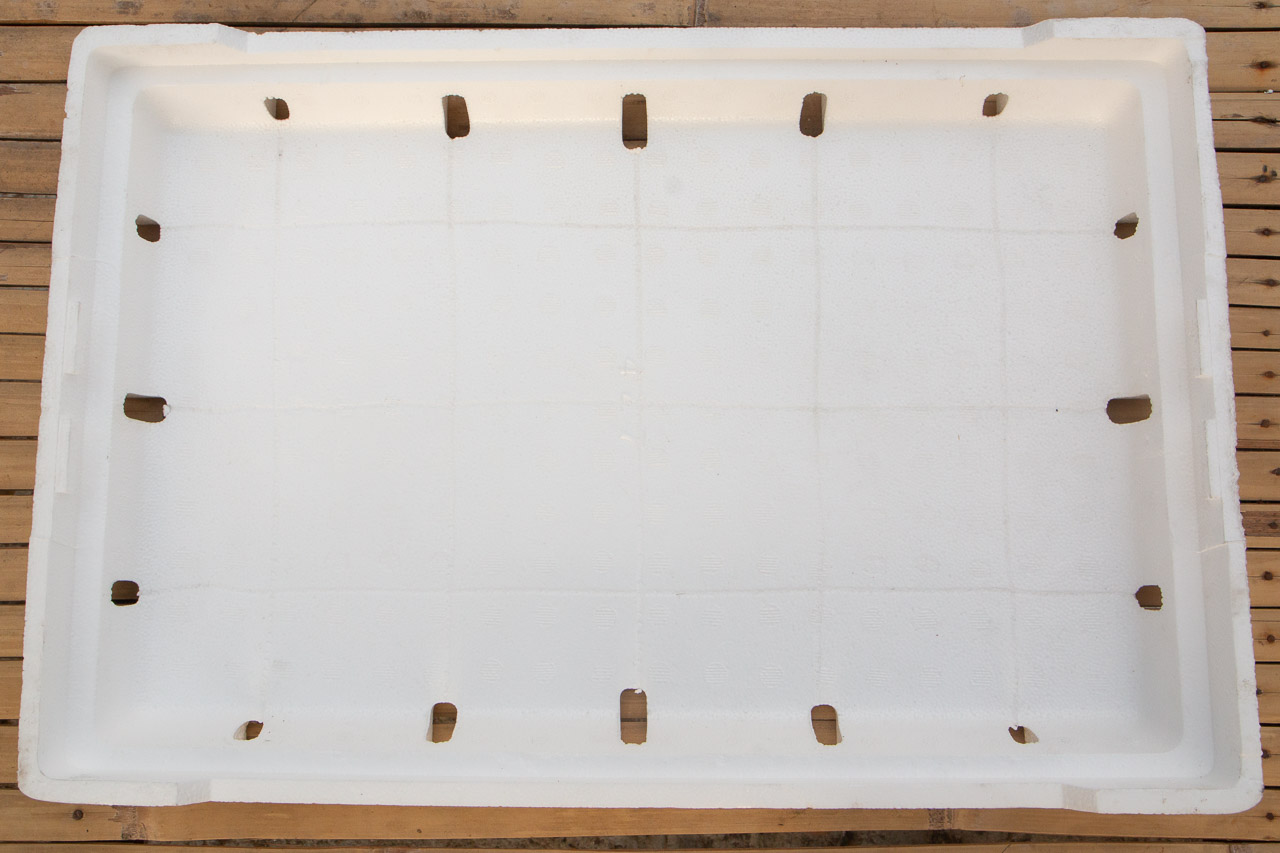
Draw guide lines connecting the ventilation holes from opposite sides of the box as shown below. A hole should be made where the lines cross.
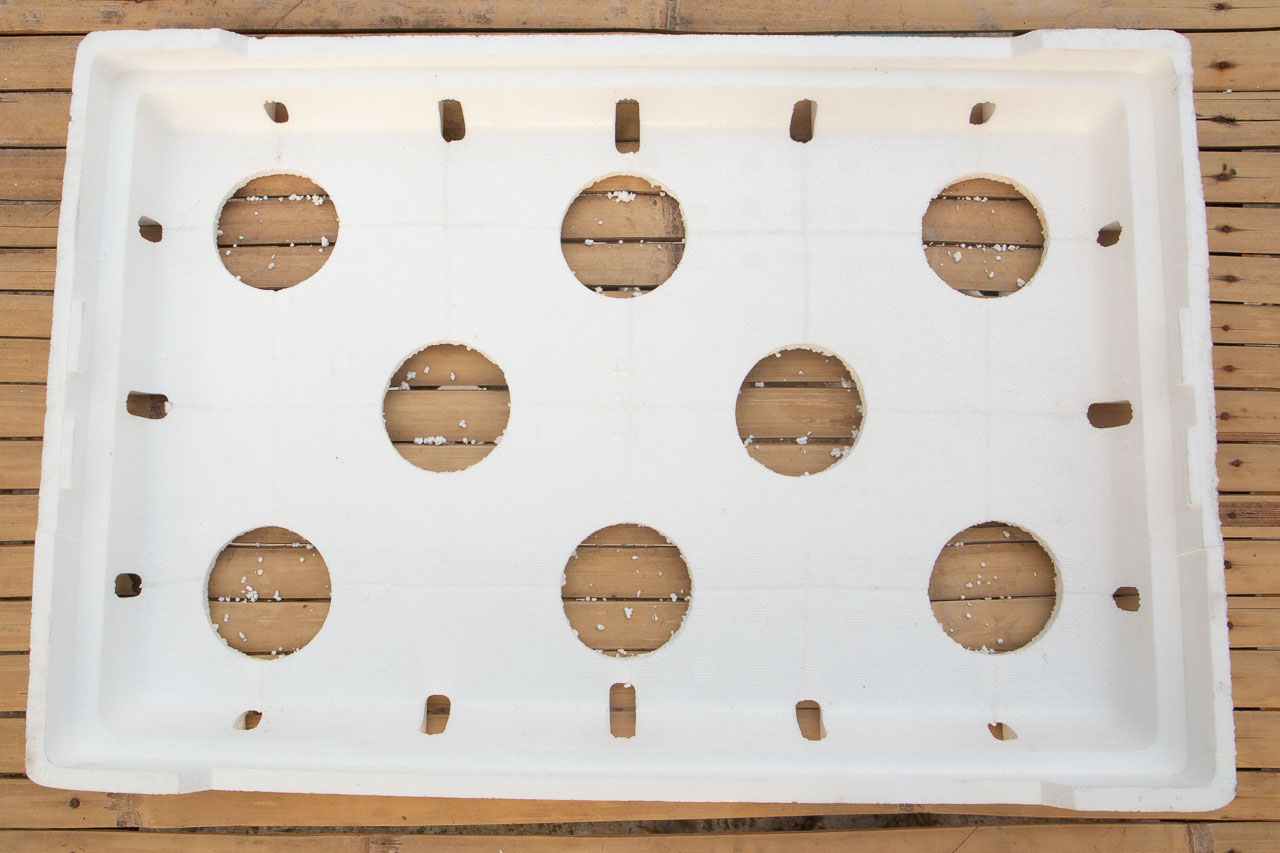
To make holes, put the sharp end of the styrofoam puncher on the styrofoam and apply pressure to score the surface. Hold the tool by the handles and apply pressure while turning the tool in a clockwise and counter-clockwise direction making tool cut deeper through the foam. Continue this process until the tool cuts through the foam.
Gently pull out the styrofoam puncher. A circular piece of foam will be left at the cutting end of the tool. Use the stick to safely push one side of the piece into the tool. This will cause the piece to rotate and the other side be pushed out of the tool allowing it to be safely extracted.
Repeat this process to create the rest of the holes.
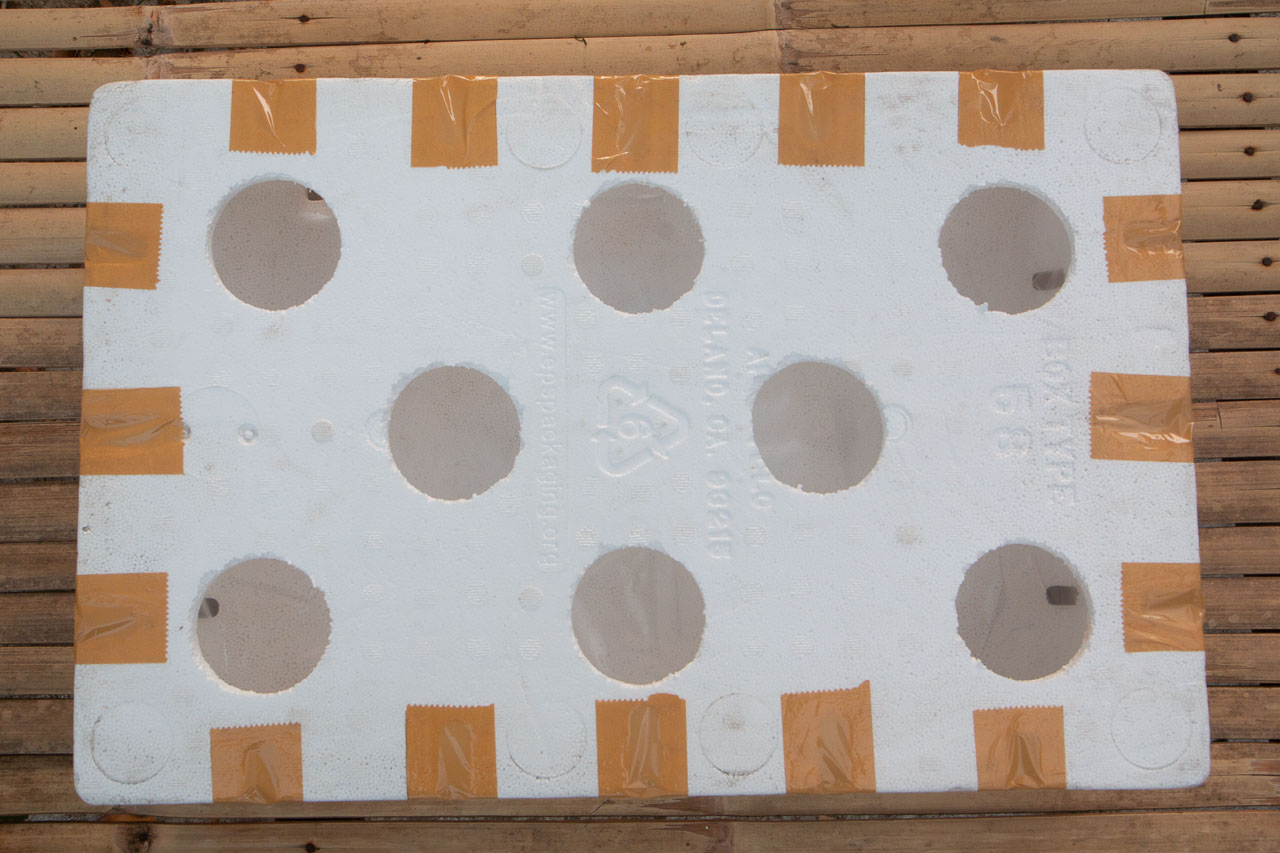
It is strongly recommended to use packing tape to cover the ventilation holes on this half of the grow box if the growing area does not have protection from mosquitoes. This will deny mosquitoes access to the working solution and stop them from breeding in the grow box.
Work on the Lower Half of the Grow Box
Start by preparing pieces of packing tape roughly three inches long. Position the 20"✕30" plastic liner as shown below. Since the box is 20"✕16" in size, the plastic liner should exceed the length of the box by five inches on both ends and exceed the width of the box by four inches on both sides. These measurements makes it easy to center the plastic liner on the lower half of the grow box.
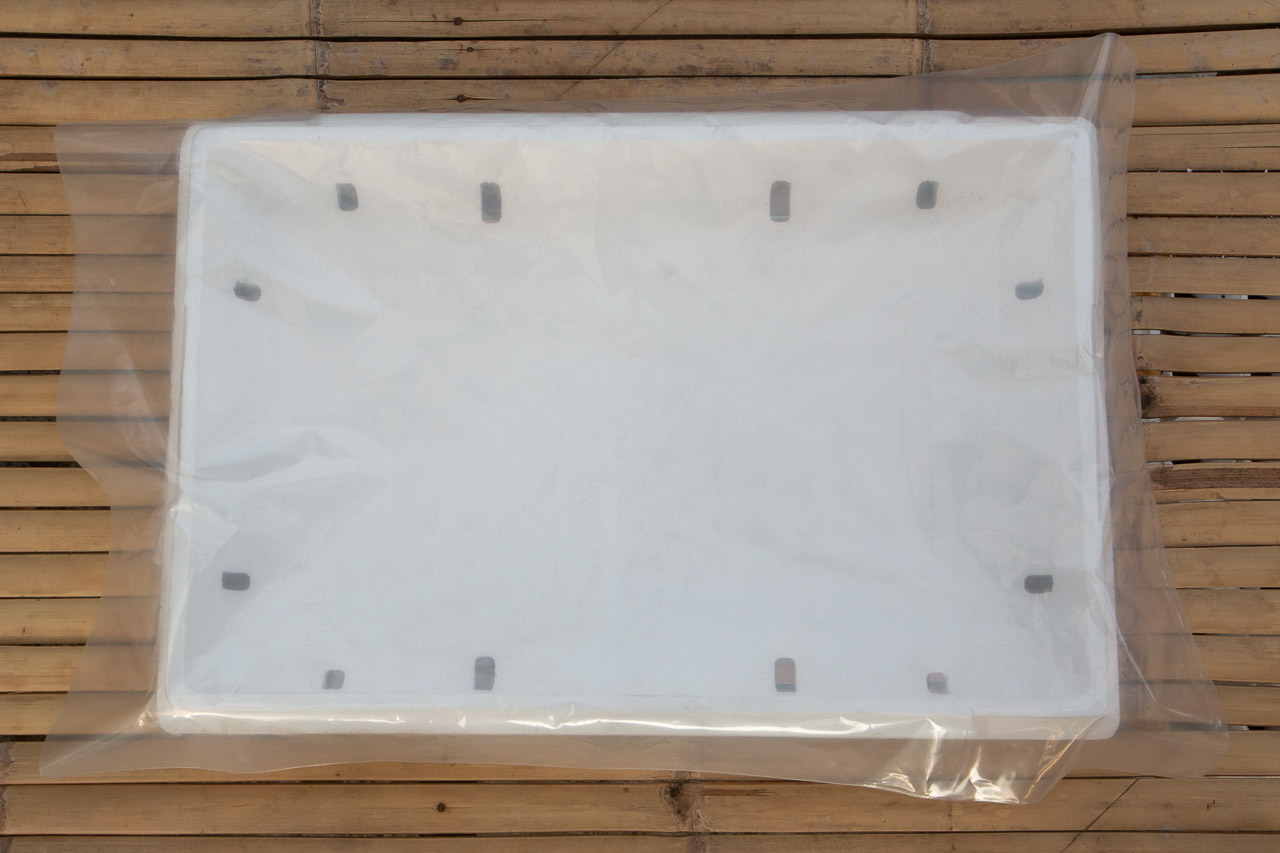
Fold both ends of the plastic liner as shown below.
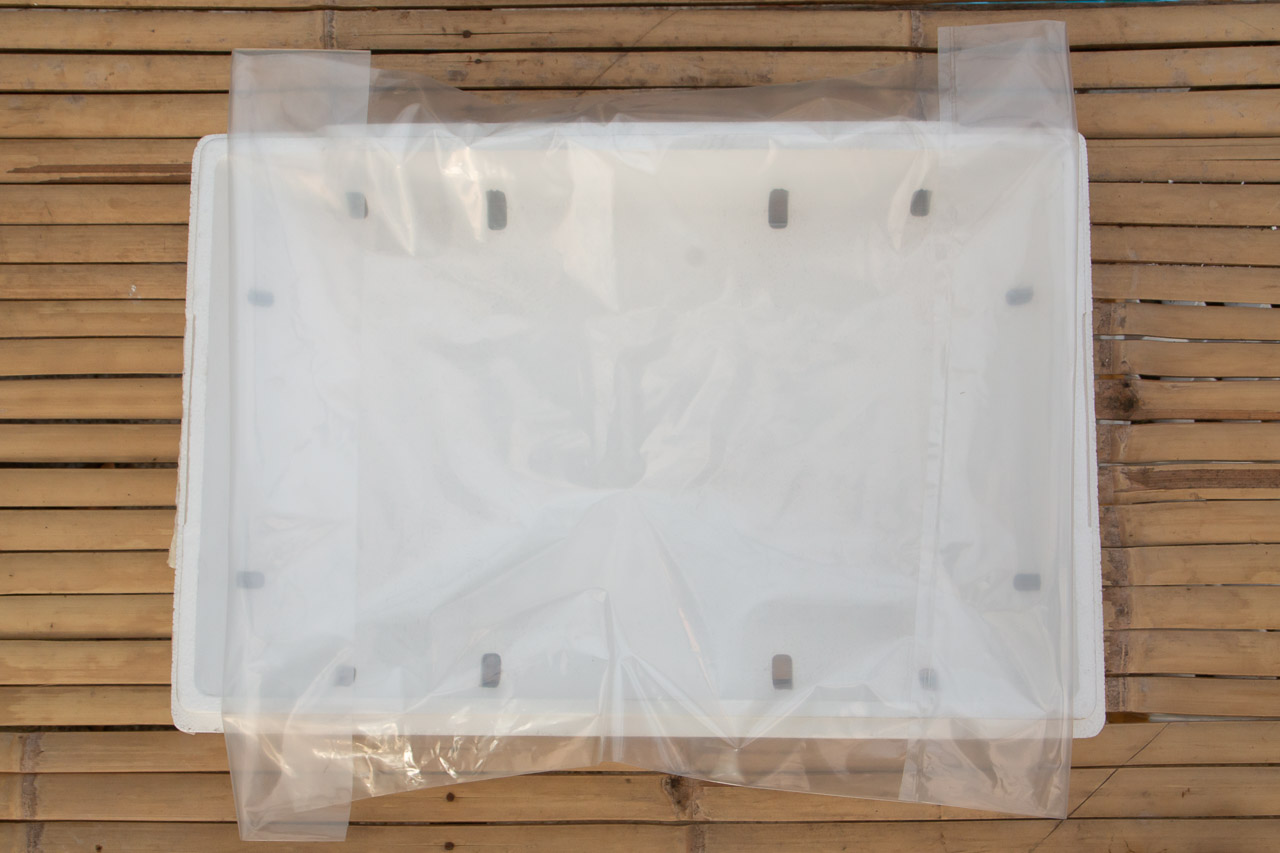
Fold both sides of the plastic liner allowing the plastic liner to fit and “fall through.”
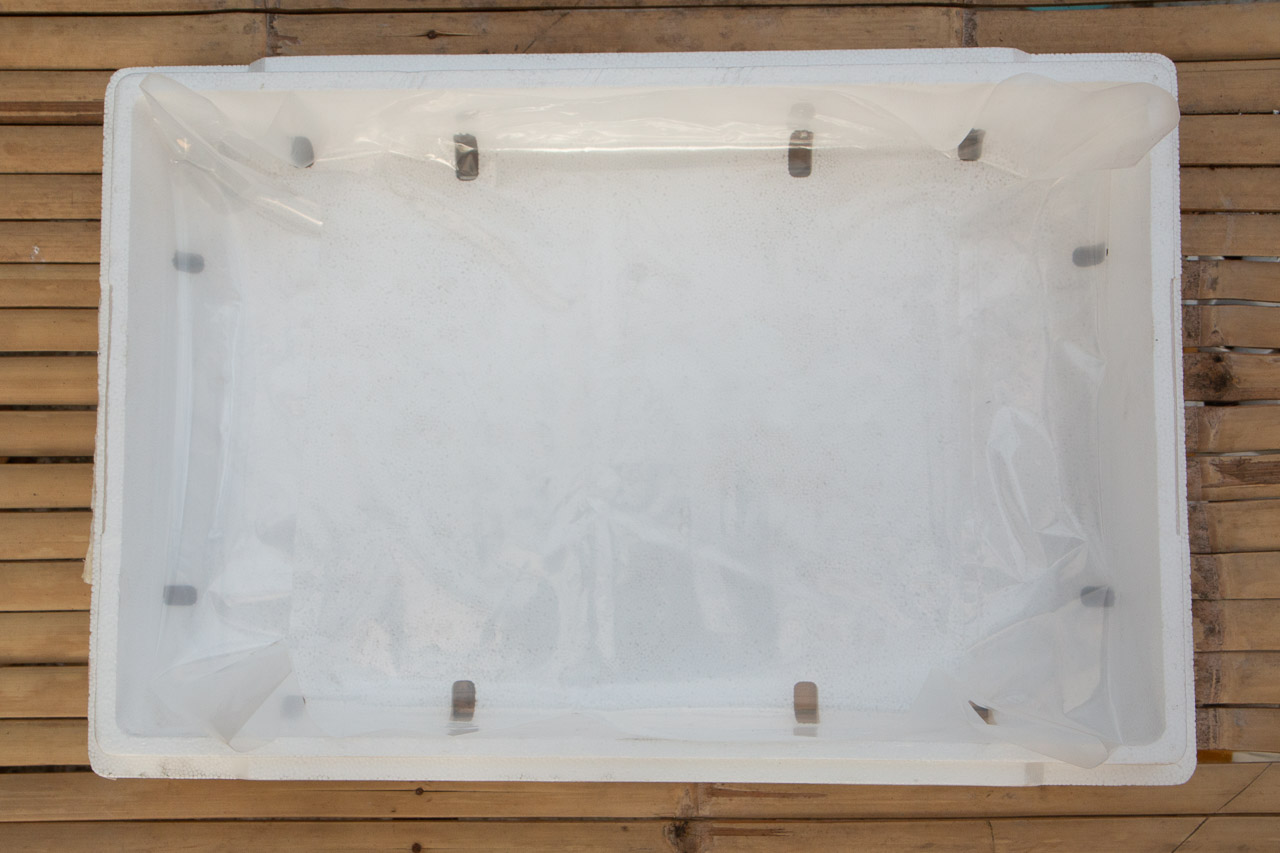
At this point the edge of the plastic liner should be flush along the length of the grow box. Tape them in place at the center of the length of the grow box as shown below.
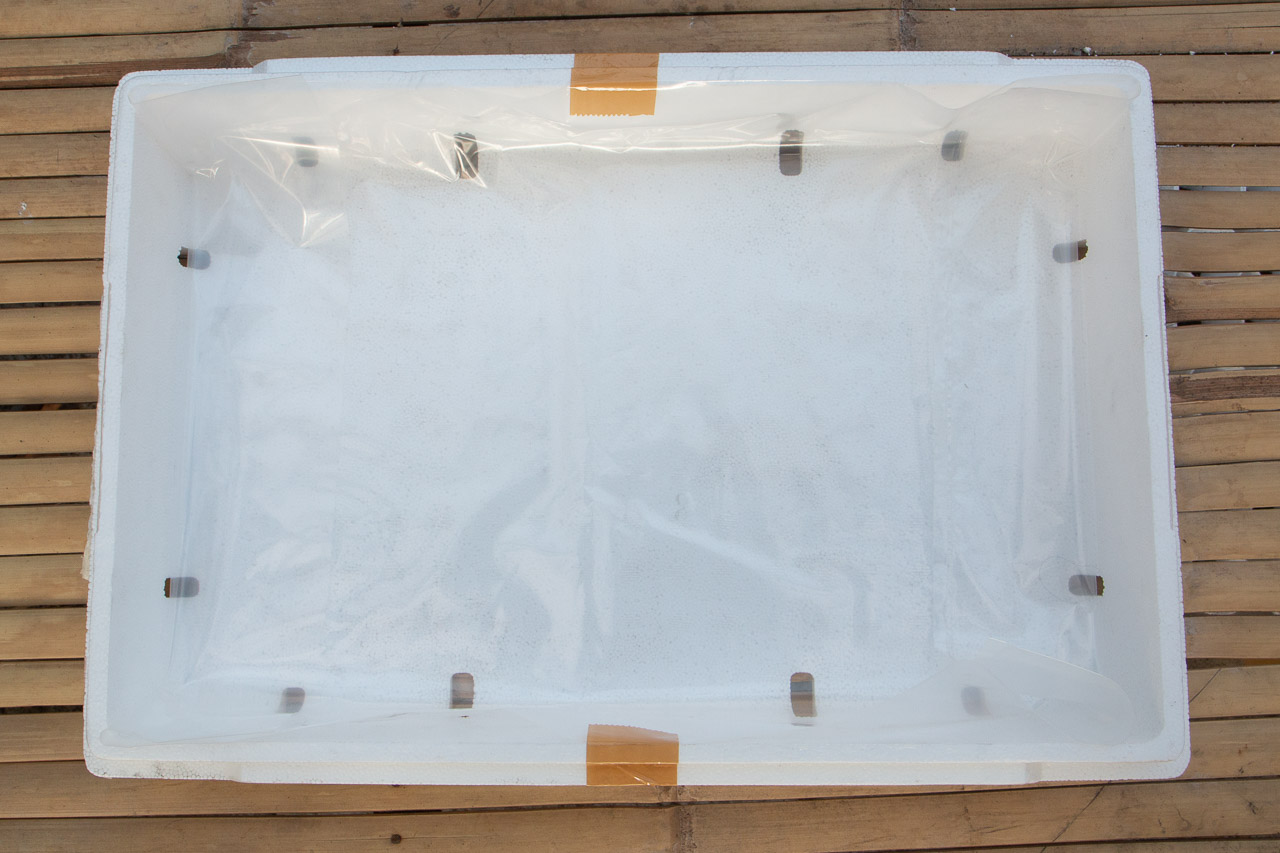
Add tape on the same sides of the grow box but towards the corner as shown below. Note how the tape only holds the side flush edge of the plastic liner and not the folded part of the adjacent side.
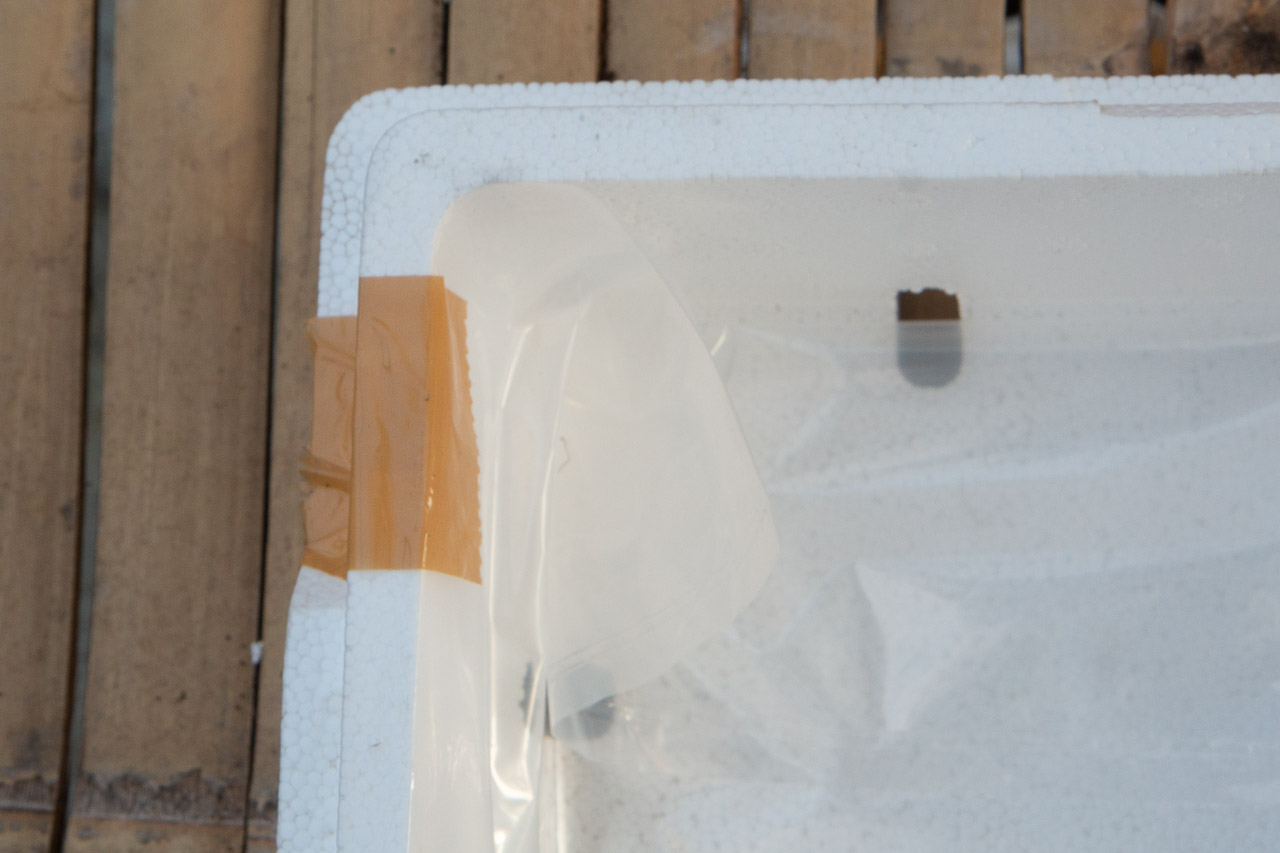
Repeat for the rest of the corners.
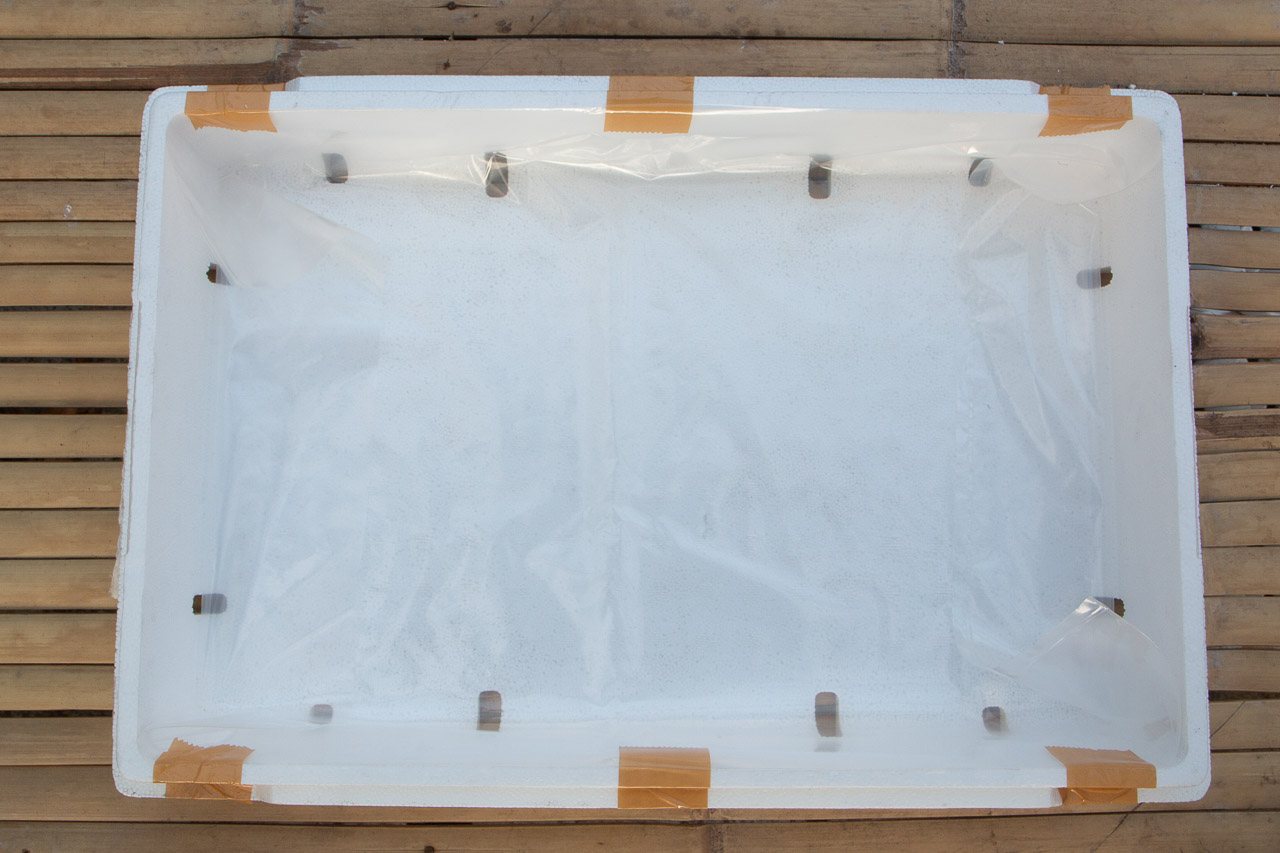
With the plastic liner fixed into position by tape, grab the folded ends of the plastic liner and pull it towards the side of the grow box. The plastic liner will make a triangular shaped fold at the corners.
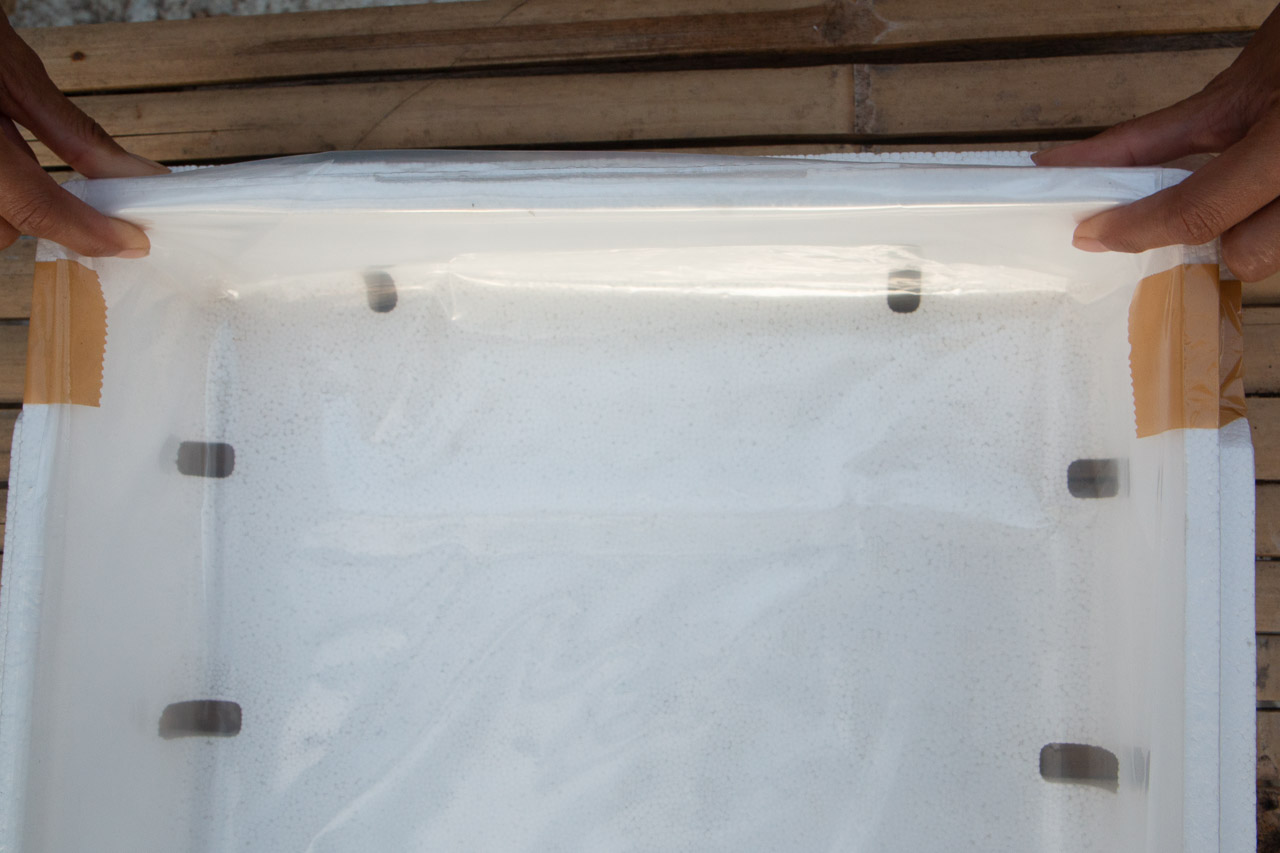
With a helping hand or with the use of clip to hold the plastic in place, tape the ends of the plastic liner to the side of the grow box. Tape the corners first then tape the center. Note that the plastic exceeds the height of the grow box’s wall along its width and the plastic will go over the side of the styrobox as you tape it in place. Repeat this process on the opposite side.
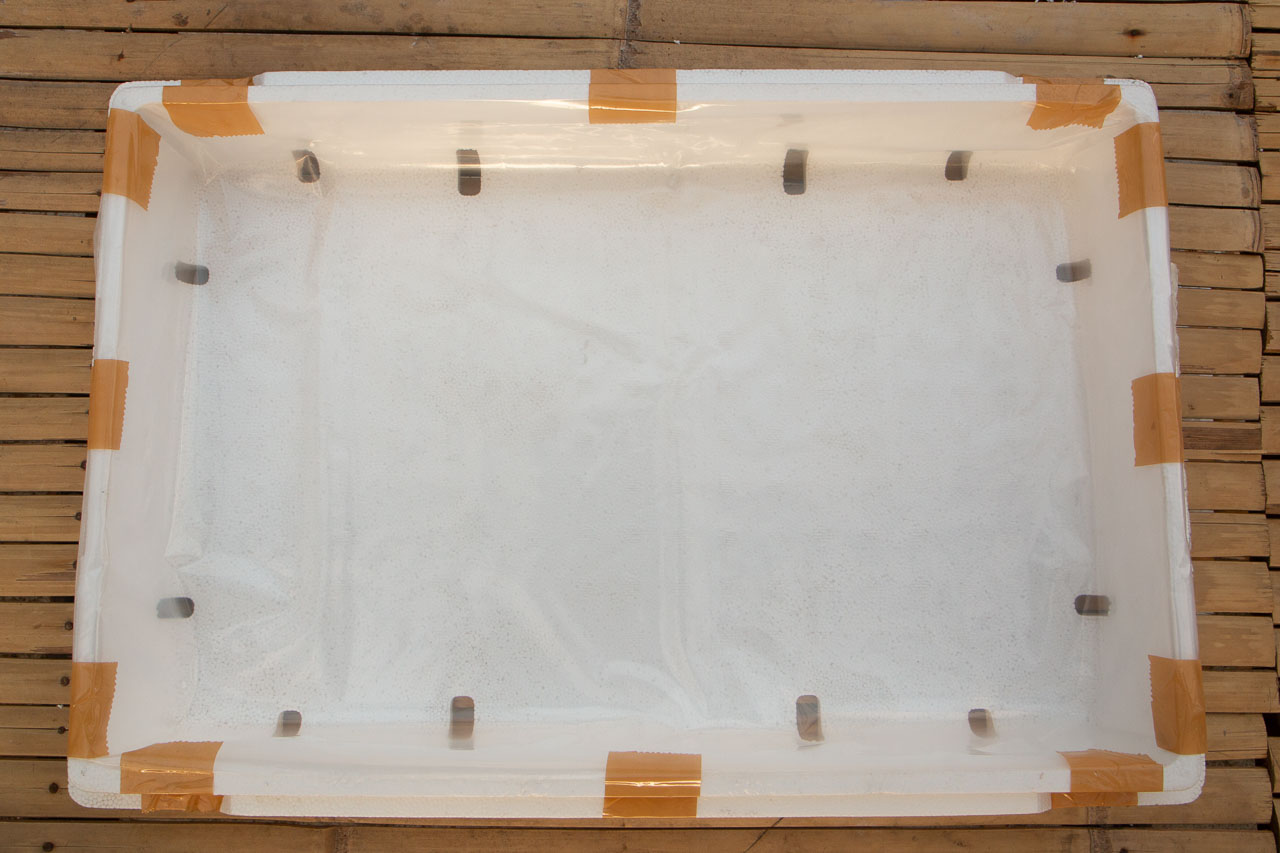
The grow box is now complete.
Remove the Locking Tabs (Optional)
The upper half of the styrobox has tabs that locks it in place on top of the lower half. When the grow boxes are packed close together this locking mechanism can make it difficult for you to open the grow box to examine what’s inside. They can optionally be removed by cutting them off with a box cutter.
